
Non-fungible tokens (NFTs) are constantly making news headlines and more celebrities are getting in on the action. Who wouldn’t want to try their hand at making NFTs after hearing stories of people making millions by selling digital apes or clip art rocks?
This guide will walk you through the relatively simple process of making your own NFT, as well as cover some of the potential risks involved.
What are NFTs?
A non-fungible token (NFT) represents ownership of a unique digital asset like a piece of digital artwork. Like cryptocurrencies, NFTs are also stored securely on the blockchain. Currently, the most popular use case is NFT artwork but almost any digital file can be made into an NFT.
Fiat currencies and cryptocurrencies are fungible, meaning they are interchangeable with each other. One $10 bill is interchangeable with another $10 bill and 1 BTC and another 1 BTC. NFTs, however, are non-fungible, like real estate and land. Each asset is unique and cannot be traded for another NFT.
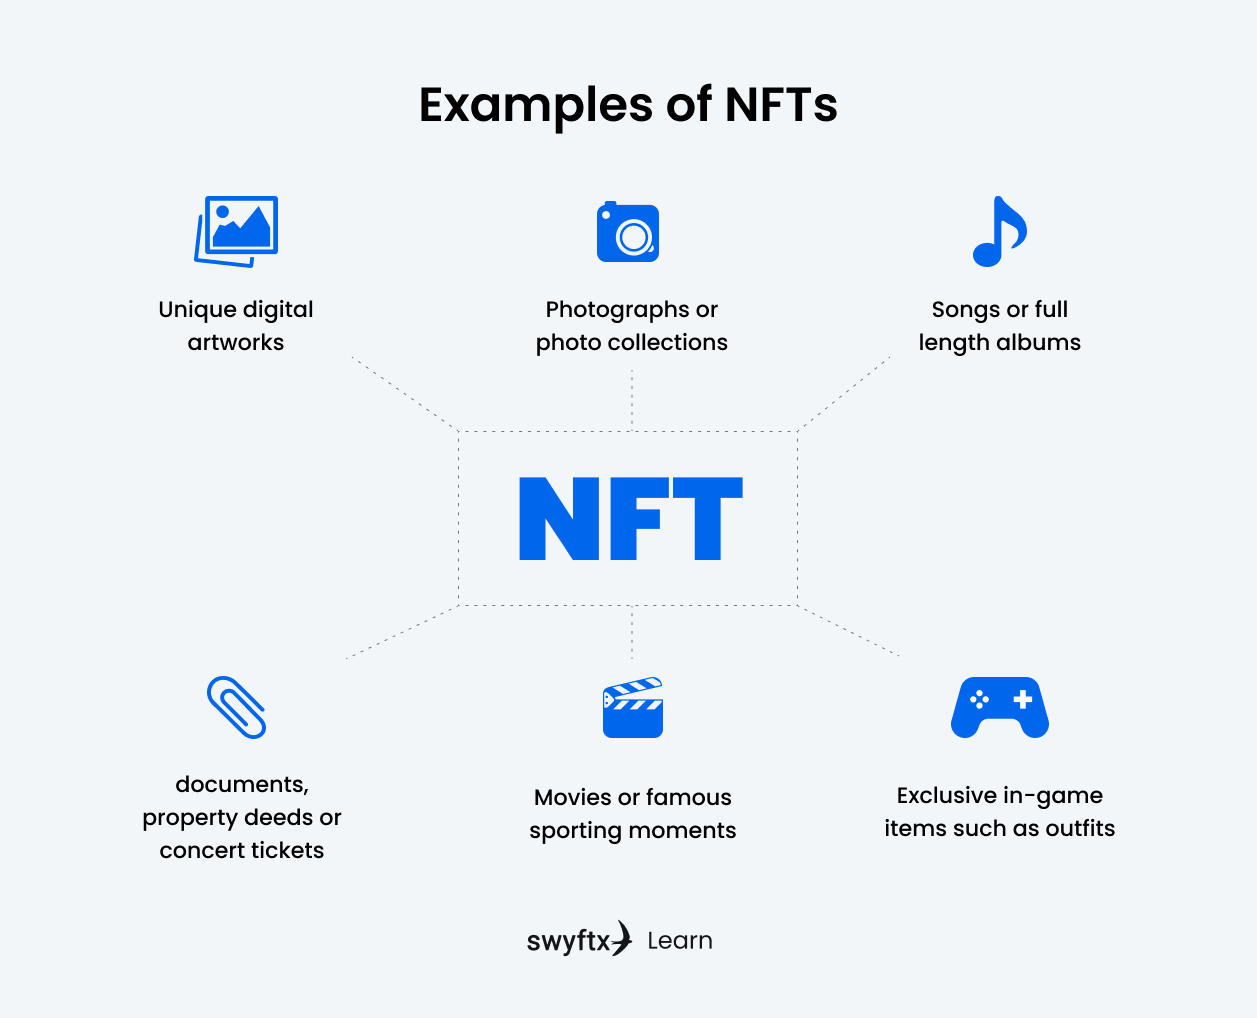
Figure 1 – Examples of NFTs
How do I make my own NFT?
Creating an NFT might sound complicated, but the process is quite straightforward and doesn’t even require coding or blockchain knowledge. Anyone can create an NFT. Artists, musicians, gamers, and content creators can turn their work into NFTs by a process called minting.
NFT marketplaces make the process of minting an NFT simple. Technically you can create NFTs without having to use a marketplace, but that process is very long and requires deep technical knowledge of blockchains and smart contracts.
Below are six fundamental steps to creating an NFT.
Step 1 – Choose your asset
The first step in making your NFT is choosing the concept. Almost any digital asset can be made into an NFT, current popular formats include digital art, music, photos, video game collectables, GIFs, and tweets. However, make sure that you own the intellectual property rights to that asset. Creating NFTs of assets that you do not own puts you at risk of running into legal trouble.
A huge factor that drives NFT collectables is their inherited ability to be unique, NFTs can be assigned attributes and properties (Figure 2), which add scarcity and value.
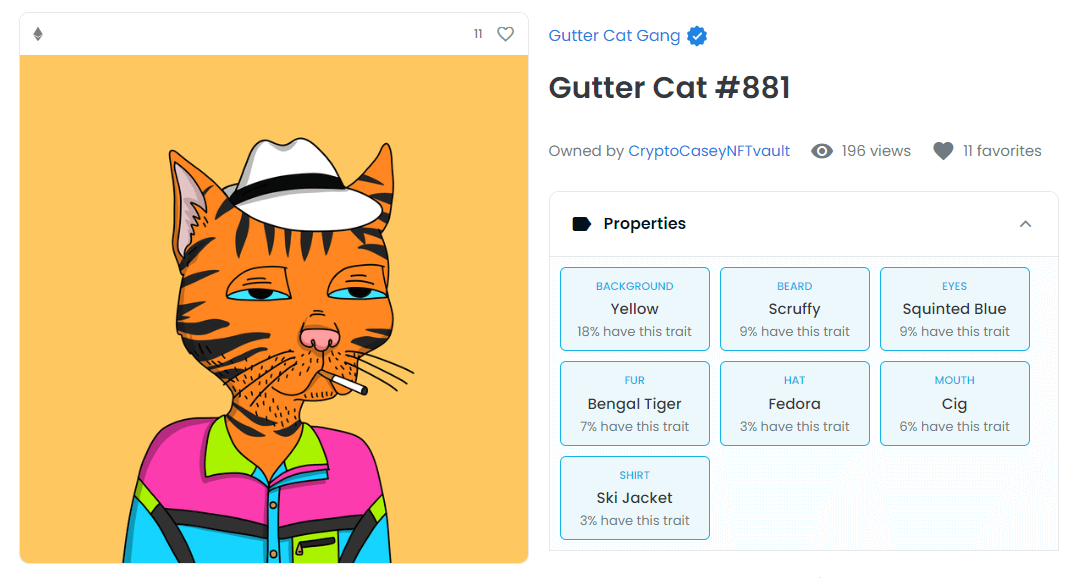
Figure 2 – A piece of NFT art and its many different properties
Step 2 – Decide on a blockchain
The next step after deciding on a concept is to choose a blockchain you would like to use for your NFT.
Ethereum is currently the most popular blockchain for NFTs. It is used by OpenSea, the largest NFT marketplace. CryptoPunks and Bored Ape Yacht Club, two of the most well-known NFT collections are also minted on the Ethereum blockchain. And Decentraland and The Sandbox, two giant metaverse projects, also run on the Ethereum blockchain.
Although the Ethereum blockchain is the most popular, it is also one of the most expensive blockchains due to its high energy usage. Ethereum is well known for its high gas fees which fluctuate based on how busy the network is.
Though not as popular as Ethereum, Solana and Tezos are fast-growing NFT blockchains and have attracted mainstream attention. Solana holds the title of the fastest blockchain in the world and has some of the lowest network fees as well. Tezos excels as an eco-friendly alternative to Ethereum, and the community is building an ecosystem around clean NFTs. Solana NFTs are also available on OpenSea, and an announcement was made last year that Tezos NFTs are coming to OpenSea.
Step 3 – Set up your crypto wallet
To create NFTs you will also need a cryptocurrency wallet with some cryptocurrency to pay for the minting costs and network fees. Digital assets are technically not stored in the wallets but on the blockchain network and can be accessed using a set of keys stored in the digital wallet.
There are many different wallets that connect various decentralized apps (dApps) and networks. A popular example of a crypto wallet is MetaMask, which is mainly used for Ethereum-based NFTs but can also connect to multiple networks. Phantom is another popular crypto wallet used for Solana-based NFTs.
Key Takeaway
When choosing a crypto wallet, it is important to consider whether it is compatible with the blockchain and NFT marketplace you are minting from.
Step 4 – Select an NFT marketplace
Next, you will need a marketplace to display and sell your NFT creations. Most marketplaces support royalties as well, where NFT creators earn a small percentage every time their NFT is involved in a transaction.
Ethereum-based marketplaces
OpenSea has a simple and easy-to-use interface and is one of the largest NFT platforms, it also supports a wide range of NFT formats including images, videos, music, and 3D models (Figure 3). Although Ethereum gas fees can get quite high, OpenSea creators do have the option to list an NFT for sale without having to pay upfront gas fees until someone buys it. OpenSea also has a standard service fee of 2.5% on every transaction.
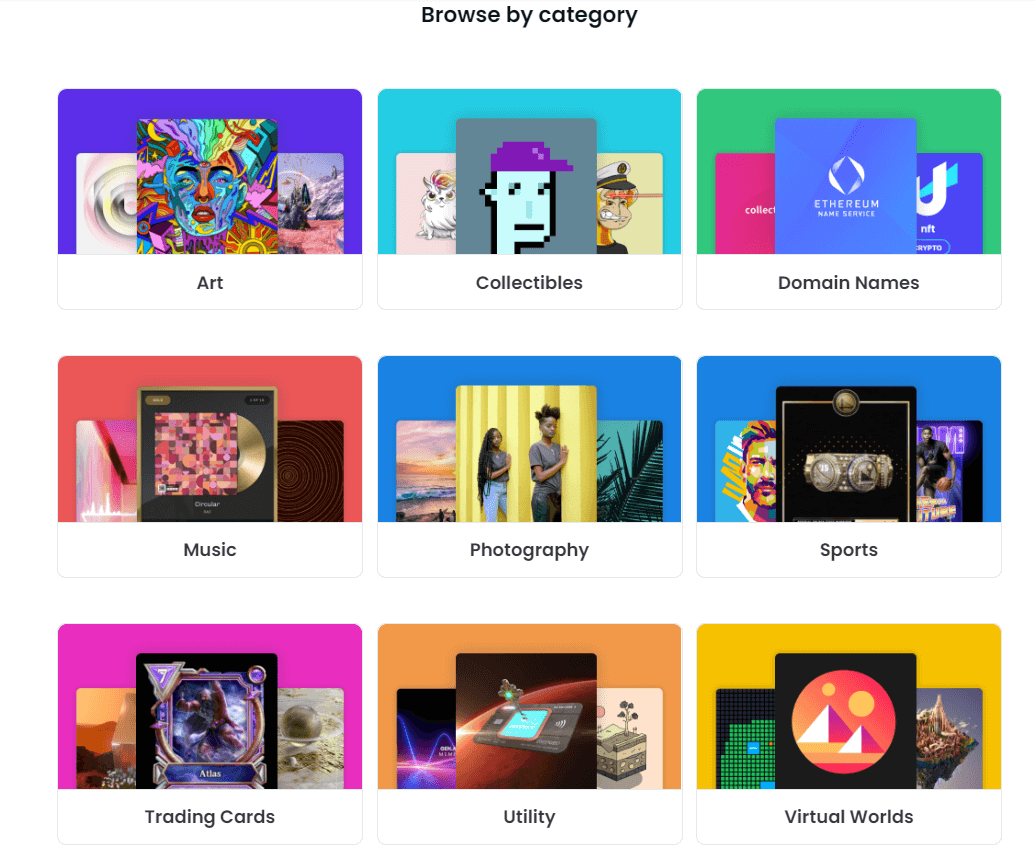
Figure 3 – OpenSea NFT categories
Solana-based marketplaces
OpenSea does support Solana NFTs, but the biggest Solana-based marketplace is Eden Magic. Eden Magic has no listing fee and charges 2% on every transaction. Unlike many other marketplaces, creators on Eden Magic need to go through a curation process when listing NFTs and collections. This ensures all collections on Eden Magic are high quality.
Tezos-based marketplaces
Objkt is the largest NFT marketplace on the Tezos blockchain. Creators on Objkt can mint NFTs or entire collections very cheaply. Like OpenSea, Objkt charges a 2.5% transaction fee on every NFT sale.
Tip
If you’re interested in using blockchains other than Ethereum, it may be worthwhile using larger marketplaces as smaller platforms may struggle with traffic generation.
Metaverse marketplaces
If you are interested in creating 3D metaverse NFTs, The Sandbox marketplace is a great place to advertise your creations. The Sandbox has a free tool called VoxEdit, which anyone can download to create voxel-styled assets such as buildings, entities, wearables and items without any technical knowledge.
Step 5 – Upload your file
Once you have chosen your marketplace, you will need to upload your first NFT creation to the platform. During this process, you will be required to give your creation a name and are also given the opportunity to give assigned properties and attributes.
Step 6 – Finalise sales details
The last step in making an NFT is to list it on the marketplace for sale. Most platforms will have the option to choose between a fixed price or an auction. Some platforms have fixed rates for royalties and others allow creators to set their own rates.
A fixed price listing will sell the NFT to whoever meets the price. On some marketplaces, buyers can make price offers but it is up to the seller to make the final decision.
Timed auctions are a very common method of selling NFTs. The seller will set a minimum price and a set amount of time for the auction. At the end of the duration, the NFT will be sold to the highest bidder. It is important to set the minimum price to cover the network fees so that you are making a profit.
The risks of making NFTs
Before diving into creating an NFT collection, it is important to understand the risks and challenges associated. The rising popularity of NFTs is seeing large numbers of NFTs being created and many not ever being sold. Also, most NFTs are traded on the Ethereum network, which uses large amounts of energy to process a single transaction. And transaction costs can be high too.
It is also important to keep in mind that making NFTs is not guaranteed to make a profit, it is possible to make a loss through minting fees. Successful creators usually have an existing community/fanbase surrounding them, or an established partnership with the platform. With so many NFTs that exist, it is often difficult for users to find your NFT without a direct search.
Summary
Entering the NFT space is not reserved for a select few, anyone can do it! Once you have decided on a concept, you will need to choose your blockchain and platform alongside a compatible wallet. Once your creation has been uploaded, all that is left is to set a price and choose a selling method.
NFT technology has provided creators with the opportunity to find new audiences without having to go through traditional means and the rise in popularity has created a market for digital artists in which to grow.
Disclaimer: The information on Swyftx Learn is for general educational purposes only and should not be taken as investment advice, personal recommendation, or an offer of, or solicitation to, buy or sell any assets. It has been prepared without regard to any particular investment objectives or financial situation and does not purport to cover any legal or regulatory requirements. Customers are encouraged to do their own independent research and seek professional advice. Swyftx makes no representation and assumes no liability as to the accuracy or completeness of the content. Any references to past performance are not, and should not be taken as a reliable indicator of future results. Make sure you understand the risks involved in trading before committing any capital. Never risk more than you are prepared to lose. Consider our Terms of Use and Risk Disclosure Statement for more details.